The Midwestern Nature Photography Survival Guide
The Midwest may not have towering mountains or dramatic coastlines—but it offers something just as powerful. In this guide, I share practical tips on light, composition, and finding compelling images in quieter landscapes.
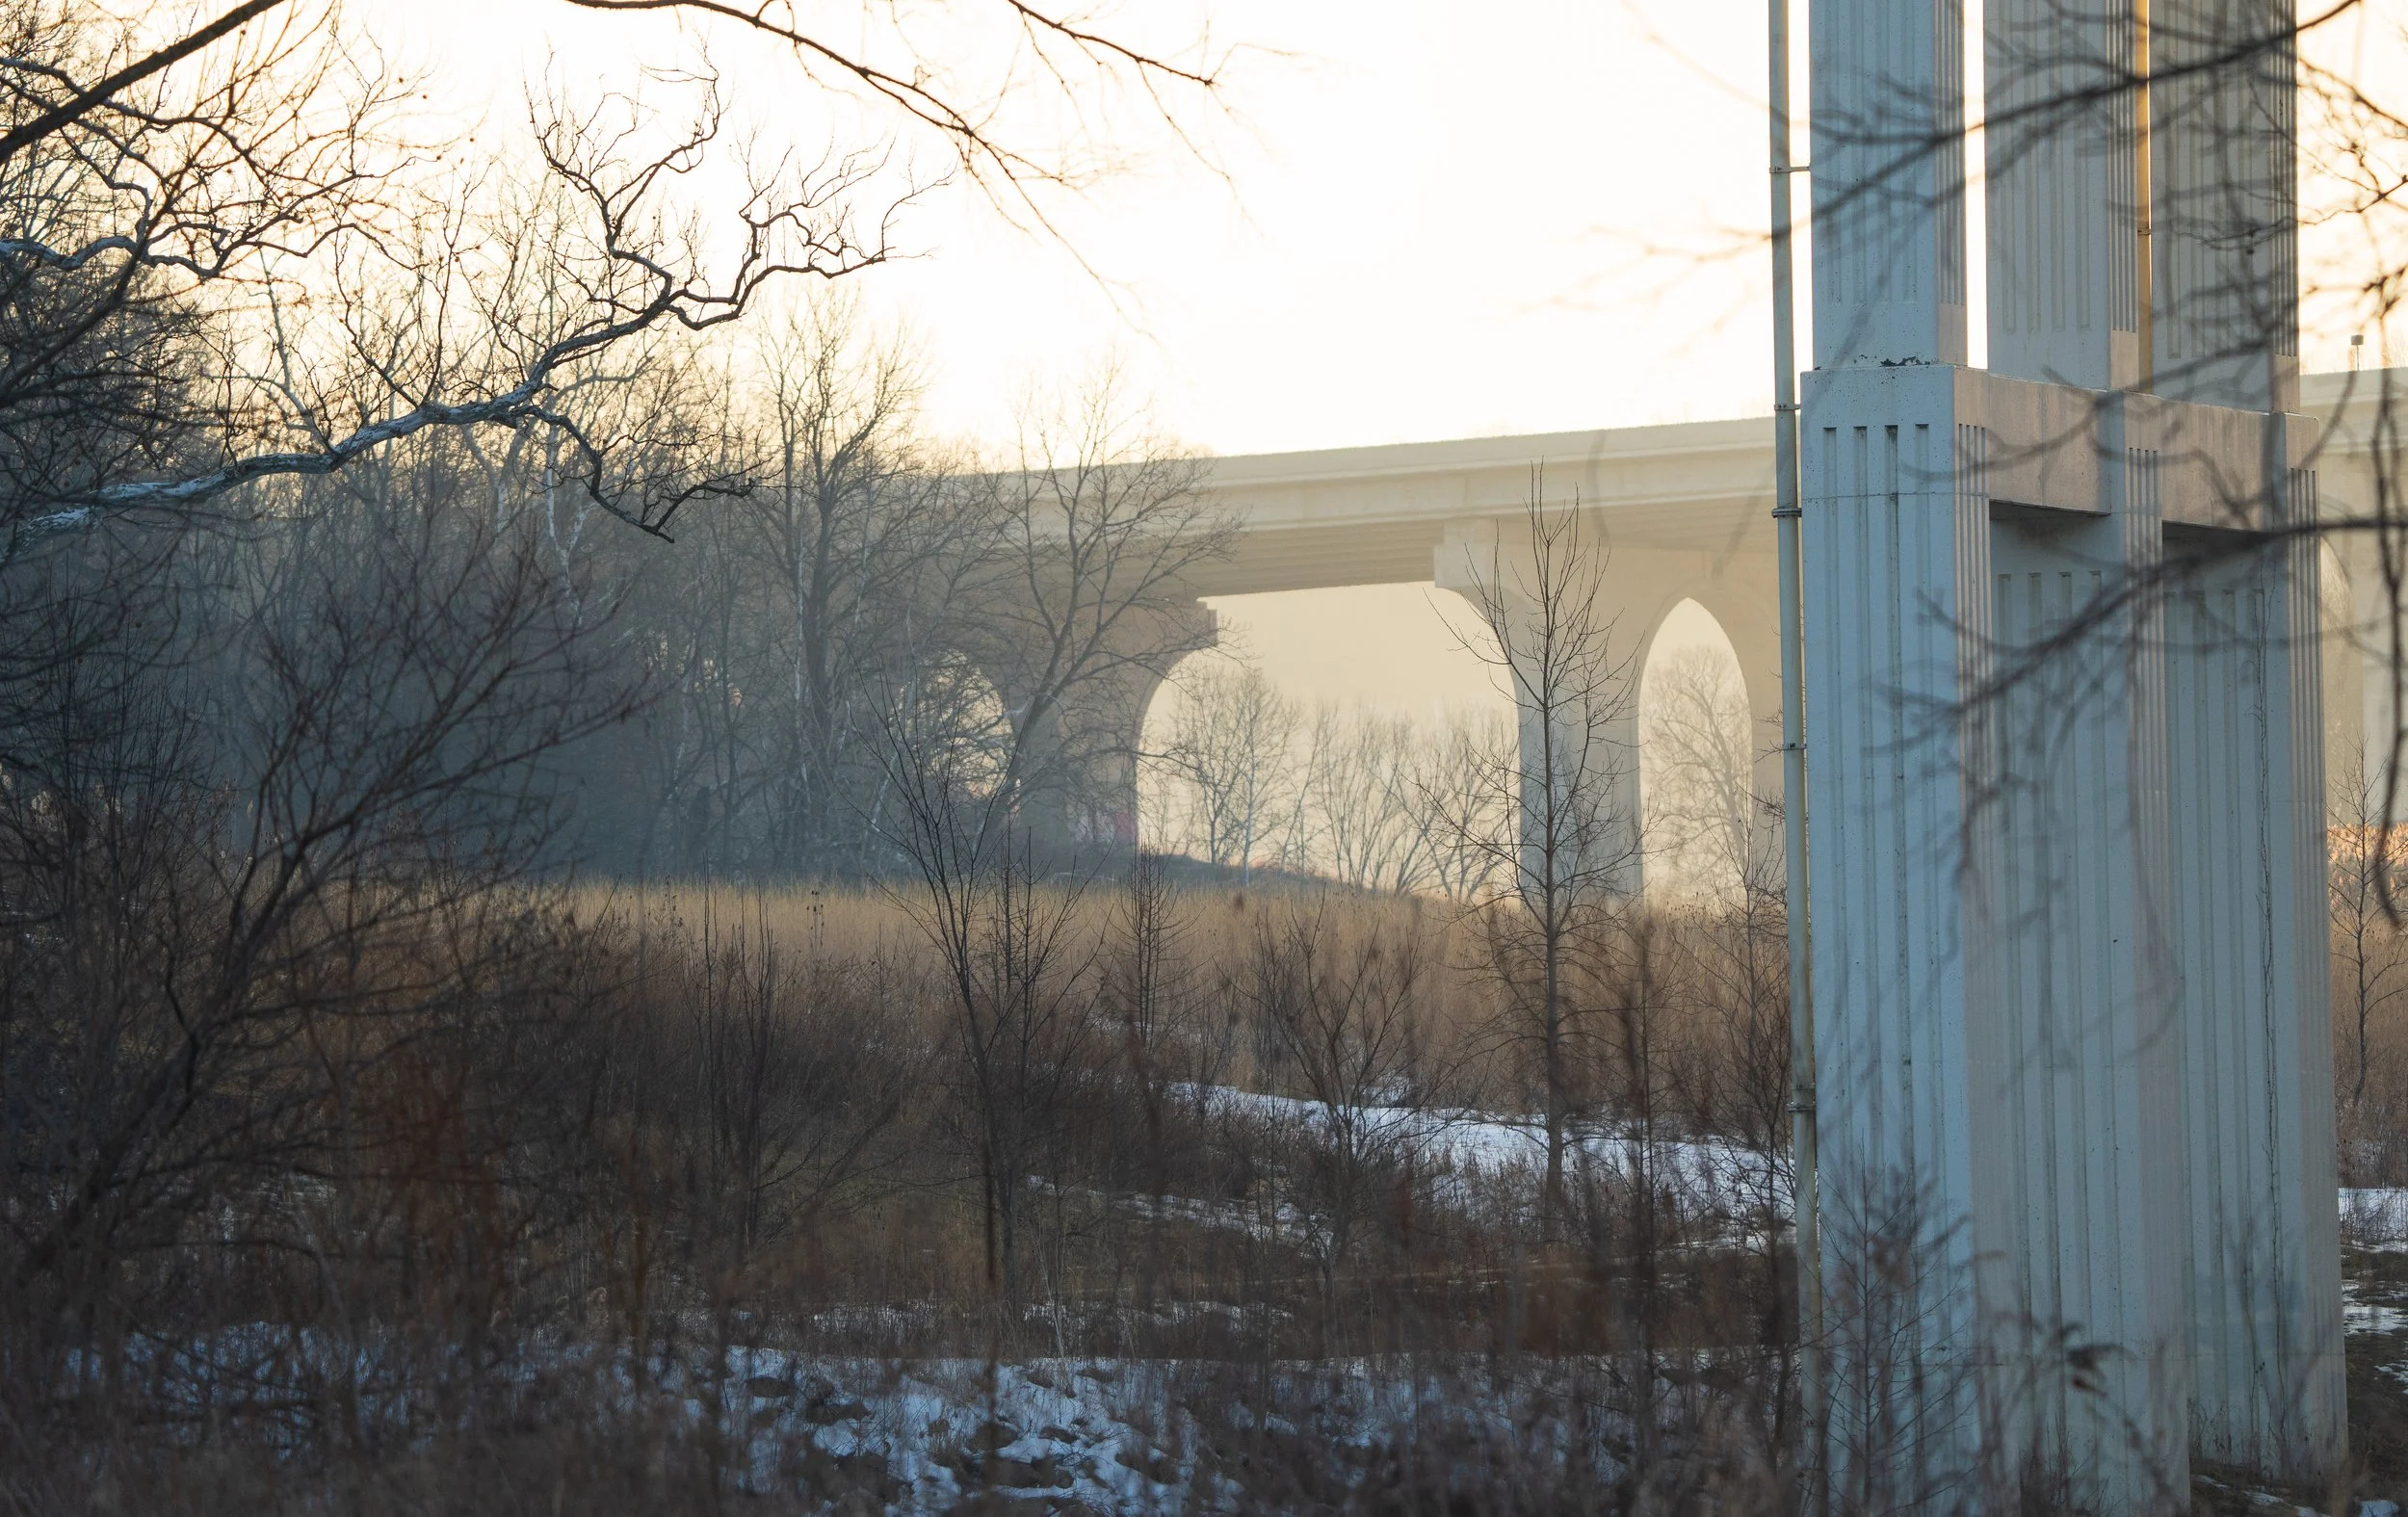
Hocking Hills State Park, Ohio
There is a certain expectation that social media seems to push when it comes to landscape and nature photography. It seems that the best images come from endless deserts, dramatic mountain ranges or coastlines that stretch far beyond the horizon.
The Midwest doesn’t typically offer that.
What the Midwest is a bit more quiet. Subtle shifts in light, weather that changes quickly and valleys and forest that don’t demand your attention - but rewards those who are willing to slow down.
Learning photography here has definitely changed the way I see. It has shown me that great images don’t always require dramatic, or exotic locations (those help), but they do require thought and the translation of emotion when to make them.
If you want to photograph the Midwest well, you don’t need to chase something bigger.
You just need to learn to see what is already there, right in front of you. Read on for my favorite tips and tricks that I learned the hard way, but helped me fall in love with photographing midwestern nature.
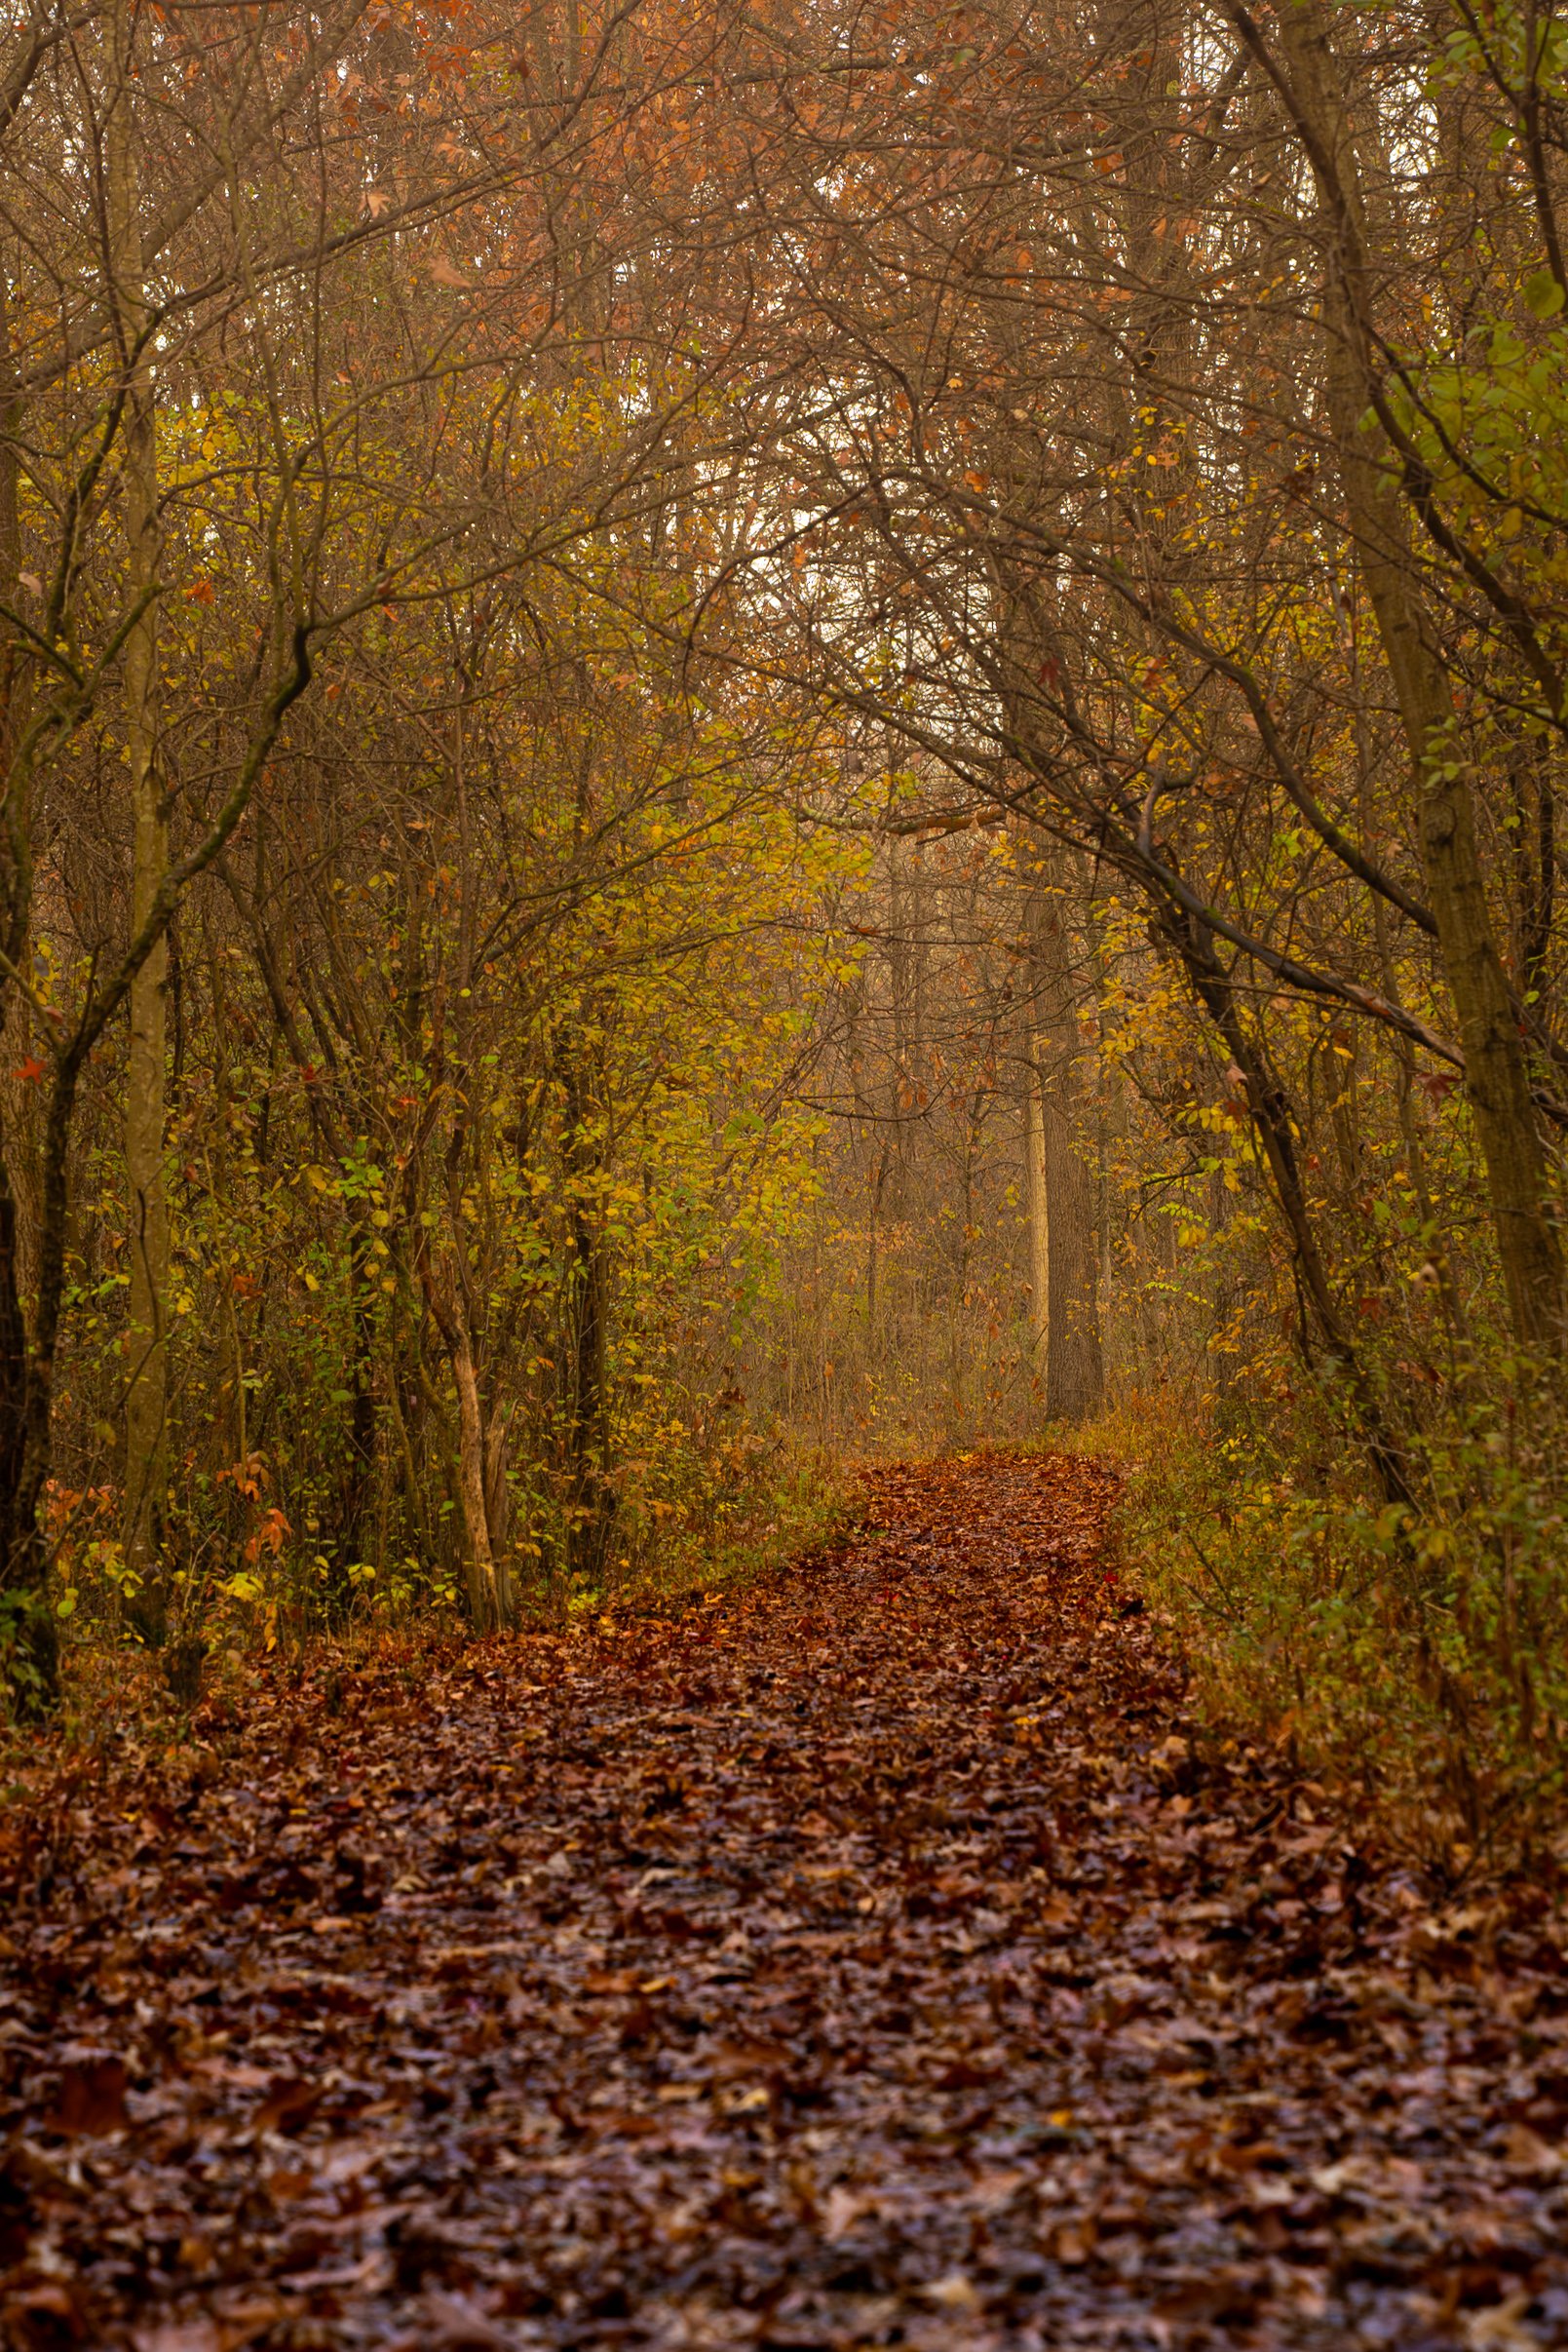
Boston Mills, Ohio
Learn to Love Imperfect Lighting
Being based in Northeast Ohio, the light changes just as quickly as the weather. Over time, I’ve learned to be ready to make images in all kinds of conditions—and while golden hour gets all the attention, don’t fall into the trap of “golden hour or bust.”
If you only head out when the light is perfect, you’ll probably come home with only a handful of images each year. Especially in places like the Valley, cloud-covered mornings are common, and that clean, golden glow everyone loves isn’t always in the cards.
But that doesn’t mean the opportunity isn’t there.
Some of my favorite images have come from less-than-ideal lighting. You just have to approach the scene differently—and having the right tools can help level the playing field.
Before I head out, I always make sure I have a solid set of lens filters in my kit. I typically carry a couple of ND filters and a CPL. ND filters allow me to reduce exposure by several stops (depending on the strength), which is especially useful for controlling motion in water or clouds. A CPL, on the other hand, helps cut glare from reflective surfaces like water and can add contrast to skies, making clouds stand out more.
Gear helps—but knowing what to shoot and when matters even more.
On dreary days, when the light feels flat, I treat it as an opportunity rather than a limitation. Instead of chasing big, open scenes, I head into the woods. Woodland photography certainly benefits from soft, filtered light through the canopy—but even without it, there’s still plenty to work with.
Look for streams, leading lines, or subtle terrain changes like ravines to bring structure and depth into your composition.
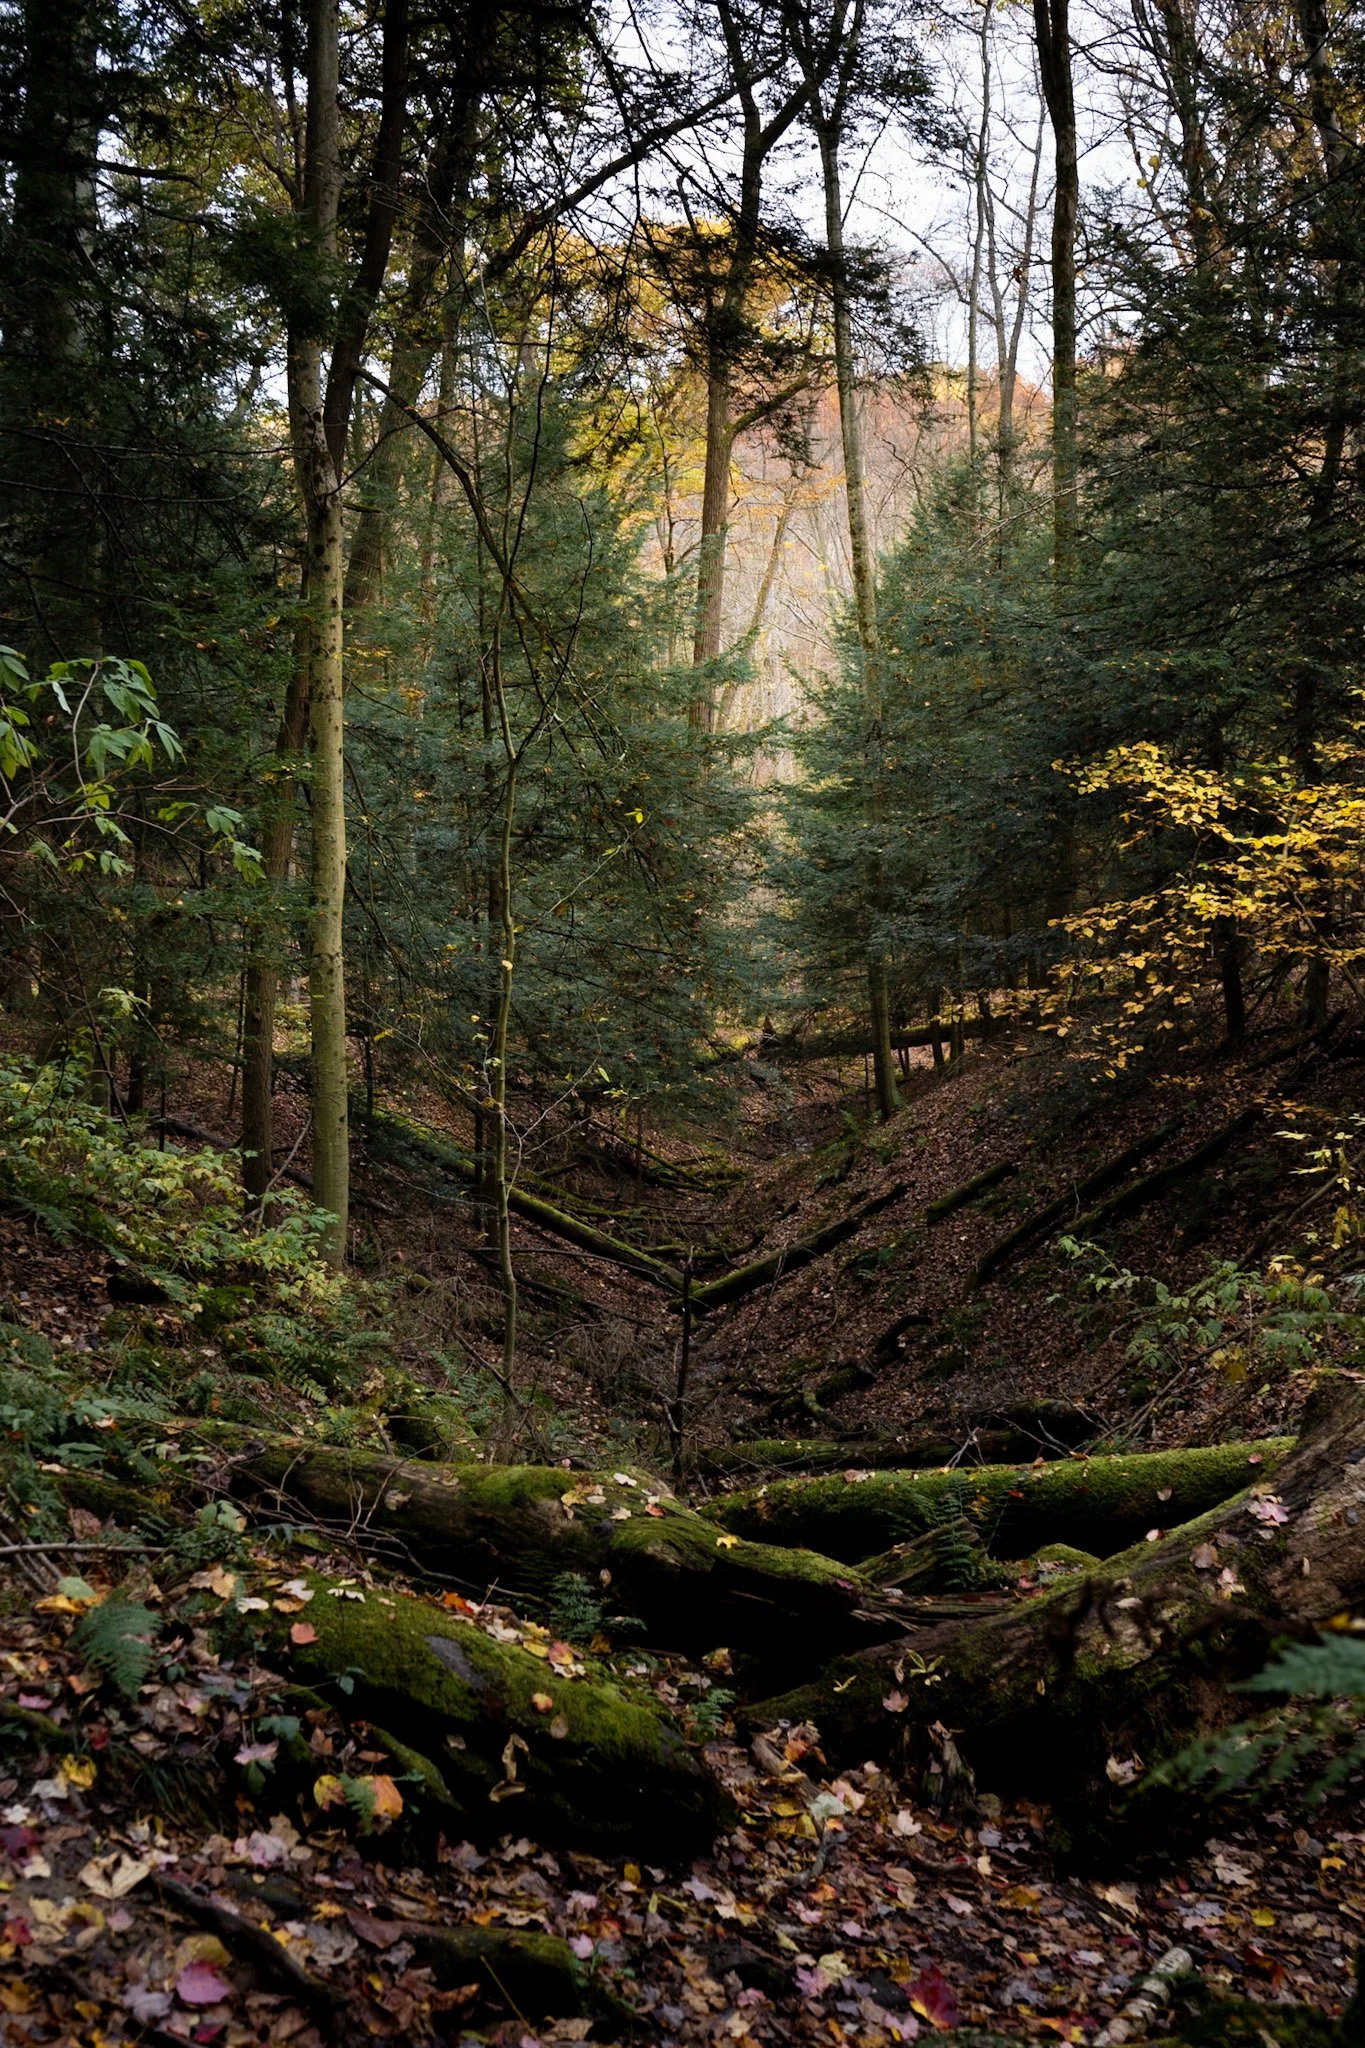
Cuyahoga Valley National Park
2. Fog and Haze Are Your Best Friend
In the absence of soft morning light, a foggy or hazy day feels like Christmas morning to me.
Fog has a way of completely transforming a scene. It adds depth, softens distractions, and brings a sense of mood that’s hard to replicate any other way. A trail you’ve walked a hundred times can suddenly feel cinematic—almost like something out of a fairytale.
Take the image above, for example. I had walked that trail countless times, but it wasn’t until that particular morning that it truly stood out.
The tricky part is actually finding the fog.
Unlike rain or clear skies, fog isn’t always easy to predict—but that’s part of what makes it so rewarding when you can capture it. Generally, your best chances come when nights are cool and mornings warm up quickly. As the air temperature rises, it interacts with the moisture on the ground and creates that low-lying fog photographers love.
As we move into seasons with warmer days and cooler nights, it’s worth checking the forecast before bed. If the conditions look right, setting your alarm a little earlier can make all the difference.
Another reliable place to look is near bodies of water. Lakes, ponds, and rivers tend to produce fog more consistently than open ground, especially in warmer months. These conditions are perfect for creating those quiet, moody, almost mystical scenes that define so much of Midwest photography.
Hocking Hills State Park, Ohio
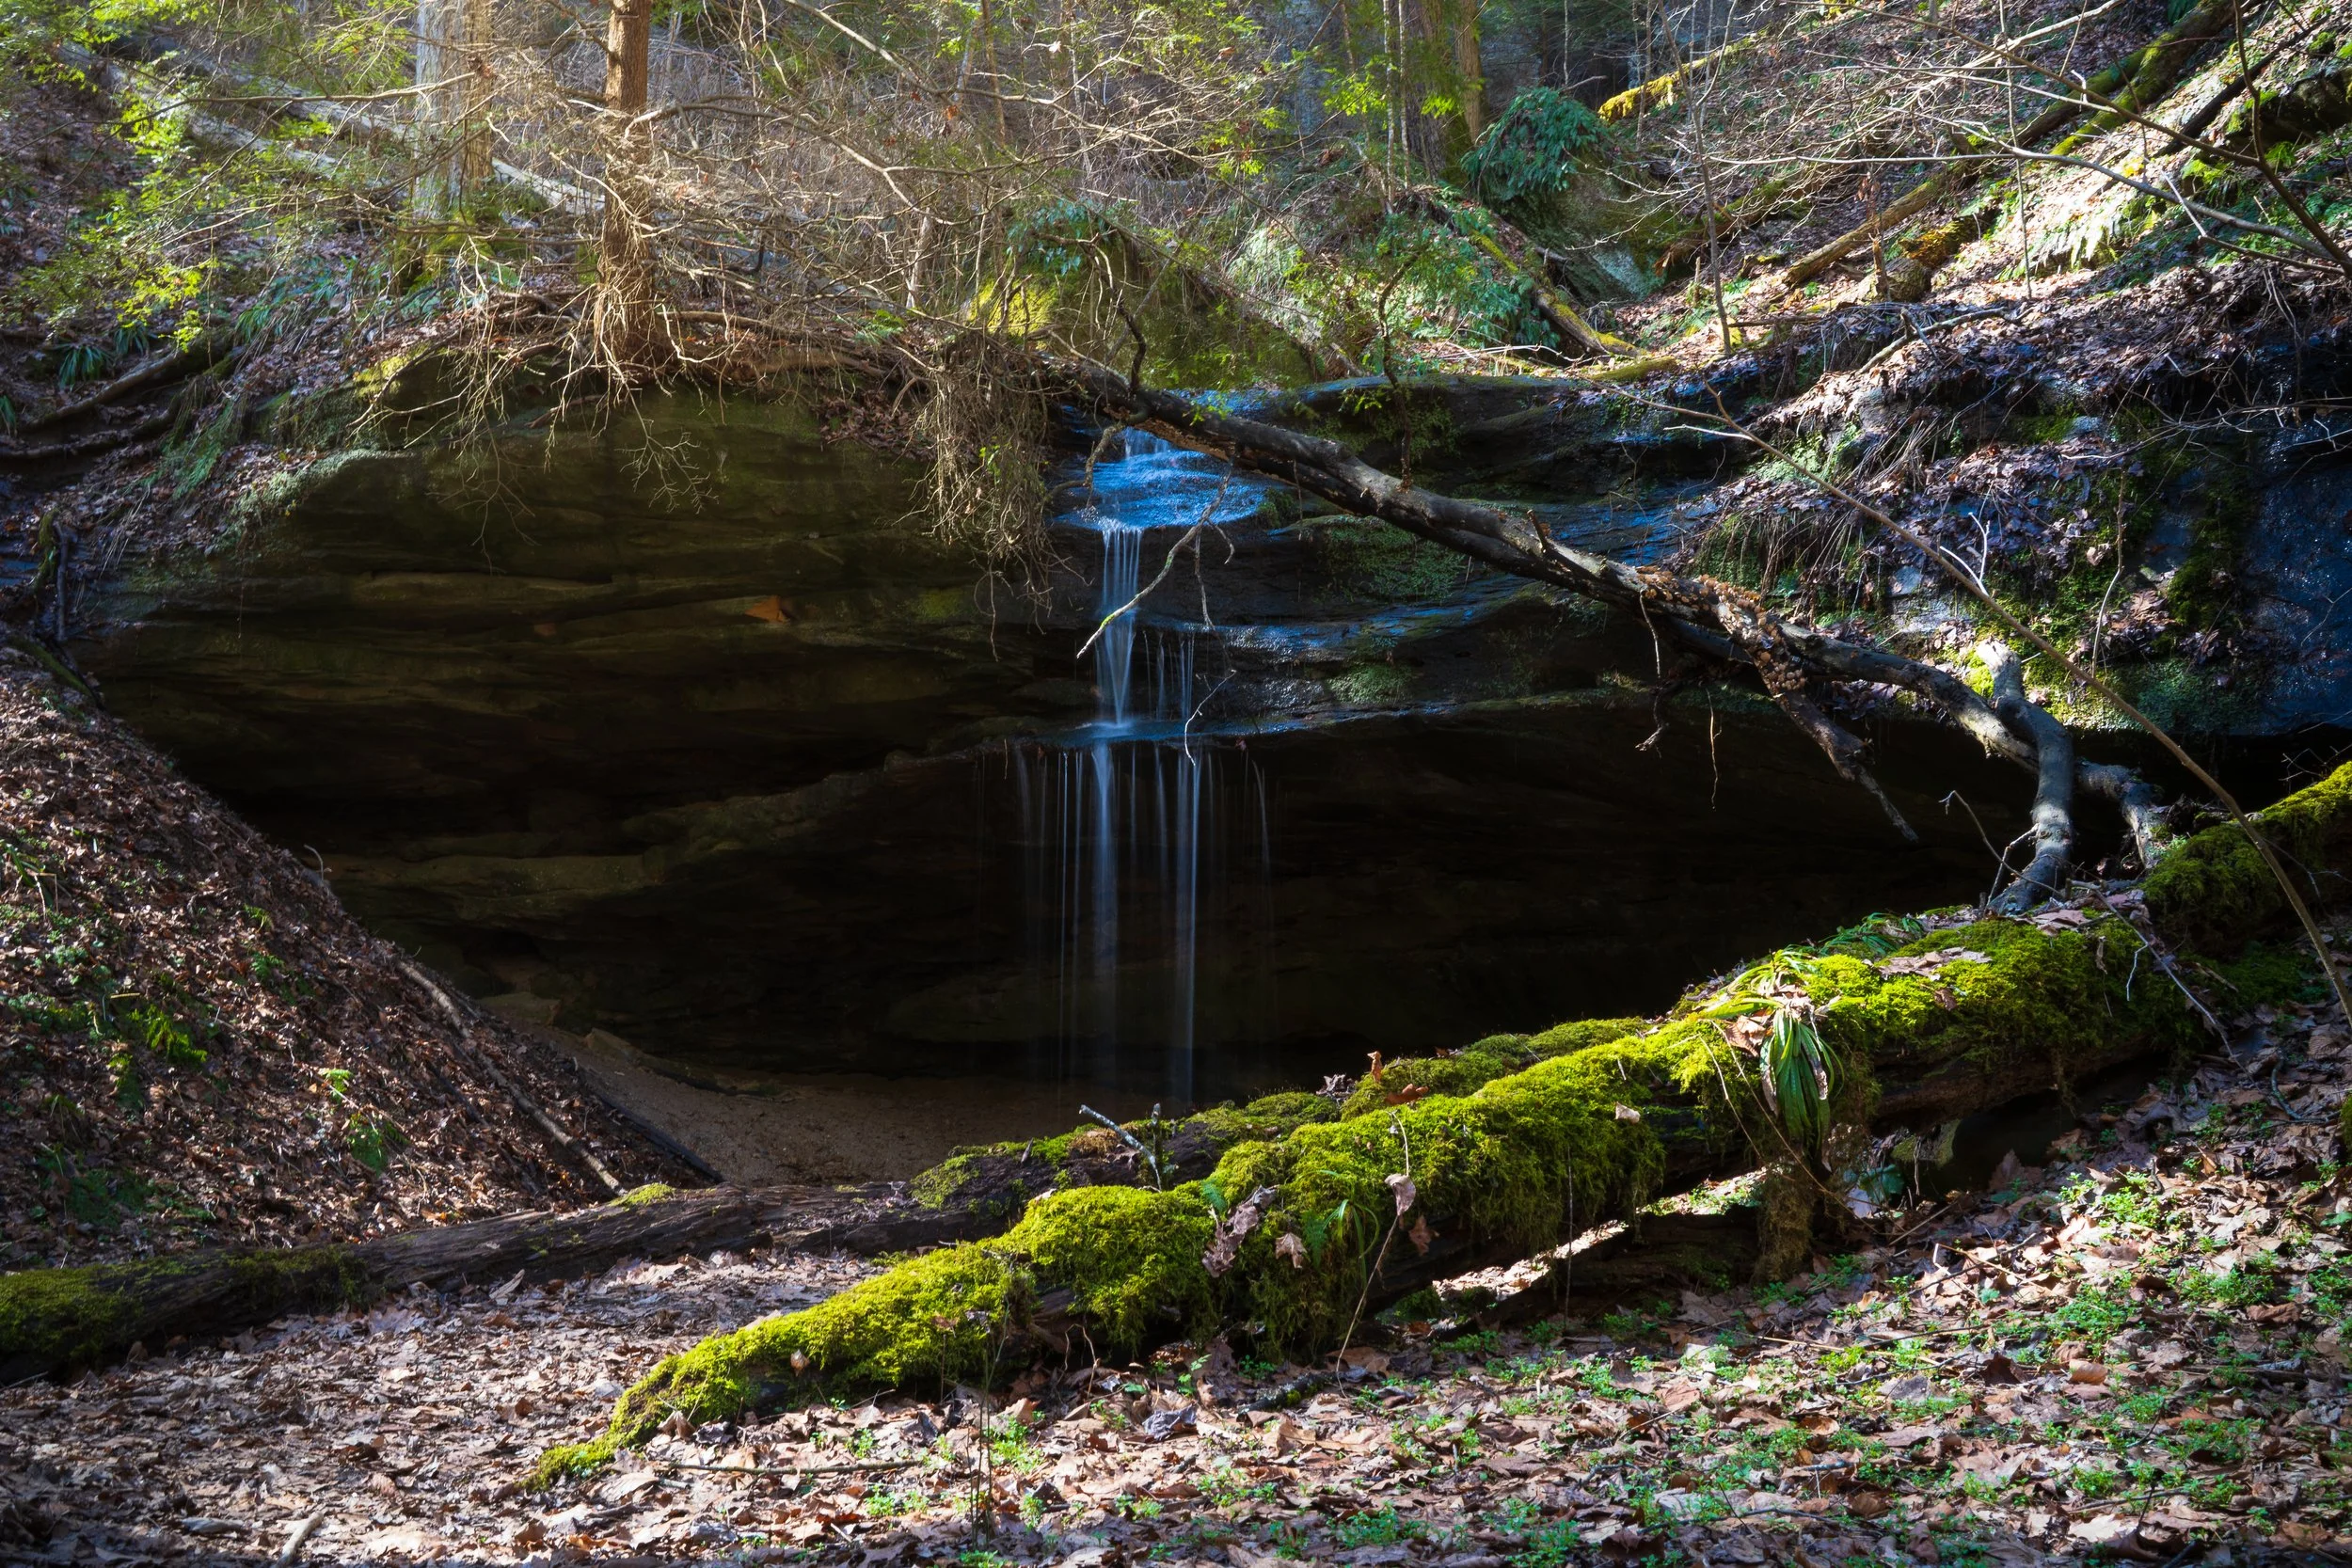
3. Finding Water
Water is one of my FAVORITE things to photograph. The best part is that there is so much water throughout the midwest, you could build your entire portfolio out of it.
Photographing water offers so much diversity; waterfalls, rivers, streams, lakes - you name it. Waterfalls are easily my favorite to photograph. The long exposures are challenging, but they really pay off when you get it right. I love the whispy tendrils of water as the cascade over the rock faces.
I mentioned the ND filters earlier in this article and for waterfall photography they are critical. If you are newer to photography, or nature photography, I’ll include a brief “how-to” on getting some beautiful waterfall images.
In order to get a good long exposure, you will need to use a slower shutter speed to extend the waters motion. Normally I have my shutter speed set anywhere between 0.8” and 1.2” (.8 seconds - 1.2 seconds). This causes the exposure to be very bright, that is why it is very important to have the ND filter, the filter will act as sunglasses for your lens. You’ll also need a tripod to make the most of long exposures. You could hand-hold your camera - I’ve had to do it, particularly on my trip through Watkin’s Glen, NY - but this will introduce some camera shake to your frame.
Another point of note for photographing waterfalls: there is no one-size-fits-all shutter speed when it comes to them. You’ll have to factor in how much water is moving and how quickly that water is moving. This sounds far more intimidating than it really is. All you have to do is take a few test images at different shutter speeds and zoom in on the water to check that it is smooth. Trial and error goes a long way - eventually you’ll be able to calculate this in your head without too much thought!
Bodies of water really open up so many opportunities. On top of the things that I already mentioned, water provides its own type of life that you can capture. Boats, sunsets, lighthouses, wildlife; the list goes on and on.
When you are photographing water, it is important to play with your angles. Taking just a picture of water can often times make the image look flat. Look for subjects to place in your frame, get your camera as close to water level as you can to get beautiful reflection images, Even when I am photographing waterfalls, my focus isn’t just on the waterfall. There are times and places for that, but I like to add other elements from the scene to give it some depth.
Bedford Reservation, Ohio
4. Finding Composition Without Mountains
One of the biggest challenges of photographing the Midwest is learning how to build striking compositions when nothing in immediately stands out.
In places with mountains, or more dramatic landscapes, the scene often does a lot of the heavy lifting for you. Here it is a little different - you have to be a bit more intentional with your images.
Ledges Trail, Cuyahoga Valley National Park
For me, my composition starts with something simple; a line, an angular shape or a point of interest.
Trails, rivers, fences, or even the way tall grass bends in the wind can all act as leading lines - guiding the viewers eye through the frame. Instead of looking for one big subject, try to find smaller elements that work together to tell the story of the landscape.
I think that this image is a great example of finding a leading line through your scene. I came upon this ravine while hiking on the Ledges Trail in the Cuyahoga Valley National Park (one of the parks more popular trails). The depreciation in the middle ground creates this attractive “V” shape, carrying your eye through the scene. This “V” becomes the foundation od the image. The fallen logs in the foreground act as anchors for that leading line.
We’ve got some really beautiful trees that occupy different layers of the image, pulling together the narrative of this area. To me, the fallen logs covered by moss represents age and time-worn; but with the trees at various stages of life signify life and growth.
The contrast is what makes this photograph feel complete. Just by using some basic photography techniques; leading lines and foreground, we’ve got a scroll-stopping image.
5. The Willingness to Return
The Midwest rewards those who are willing to return.
Scouting locations is a common practice in photography, visiting a place ahead of time to explore angles and get a feel for the scene. While that’s valuable, I’m talking about something a little different.
I mean coming back. Again and again.
Some of my best images have come from places I’ve visited multiple times. Each visit reveals something new—something I didn’t notice before. A different angle, a new composition, or a detail that only stood out because I was looking more intentionally.
It’s similar to driving the same road over and over. One day, you suddenly notice a building or a sign you swear wasn’t there before. It was always there—you just hadn’t seen it yet.
Photography works the same way. Returning to a location gives you the opportunity to see it differently.
And just as important (you’ll notice a theme here)—light changes everything.
A scene that felt flat one day can feel alive the next. The way light filters through trees, or settles into a landscape can transform an ordinary scene into something worth capturing.
I’ve lost count of how many times I’ve stood on a trail thinking, “If the light hits that just a little differently, this could be something special.”
The only way to catch that moment is to come back.
6. Introducing Subjects to Your Landscapes
When I started my photography journey, I had this preconceived notion that landscape and nature photography should only be natural landscapes. While I still like to keep some sort of demarcation between nature and humanity; I was foolish to think that there weren't opportunities where the two married well.
Introducing a man-made object or structure to your scene can really give your images life, especially on days that you don’t feel your best.

Glade Creek Grist Mill, Babcock State Park, West Virginia
The Glade Creek Grist Mill is a perfect example of structures adding to a landscape frame. The old-world building nestled upstream from those gorgeous waterfalls. Architecture, especially older architecture, can look like it has always been there - or it was meant to always be there. One of the main draws to landscape photography is that it looks and feels organic.
I find it is best to use a building that adds to the scene rather than dominates it; like your favorite sit-com-you’ve got five friends that always seem to be together, they have their own storylines, but none of them feel like the main character. You can definitely make some beautiful images where the structure is the main character, but this is my favorite way to merge the two.
7. Honorable Mentions
Wildlife
Wildlife is always a great sub-niche for landscape photographers. Normally you’re in the woods, wildlife tends to be the in woods-it’s an easy aisle to cross. There is a common misconception that you need to have a really expensive, long focal length lens to photograph wildlife. While that is nice to have to get some really detailed shots, it isn’t a requirement. I have taken a lot of great wildlife photographs with my Tamron 28-200mm lens!
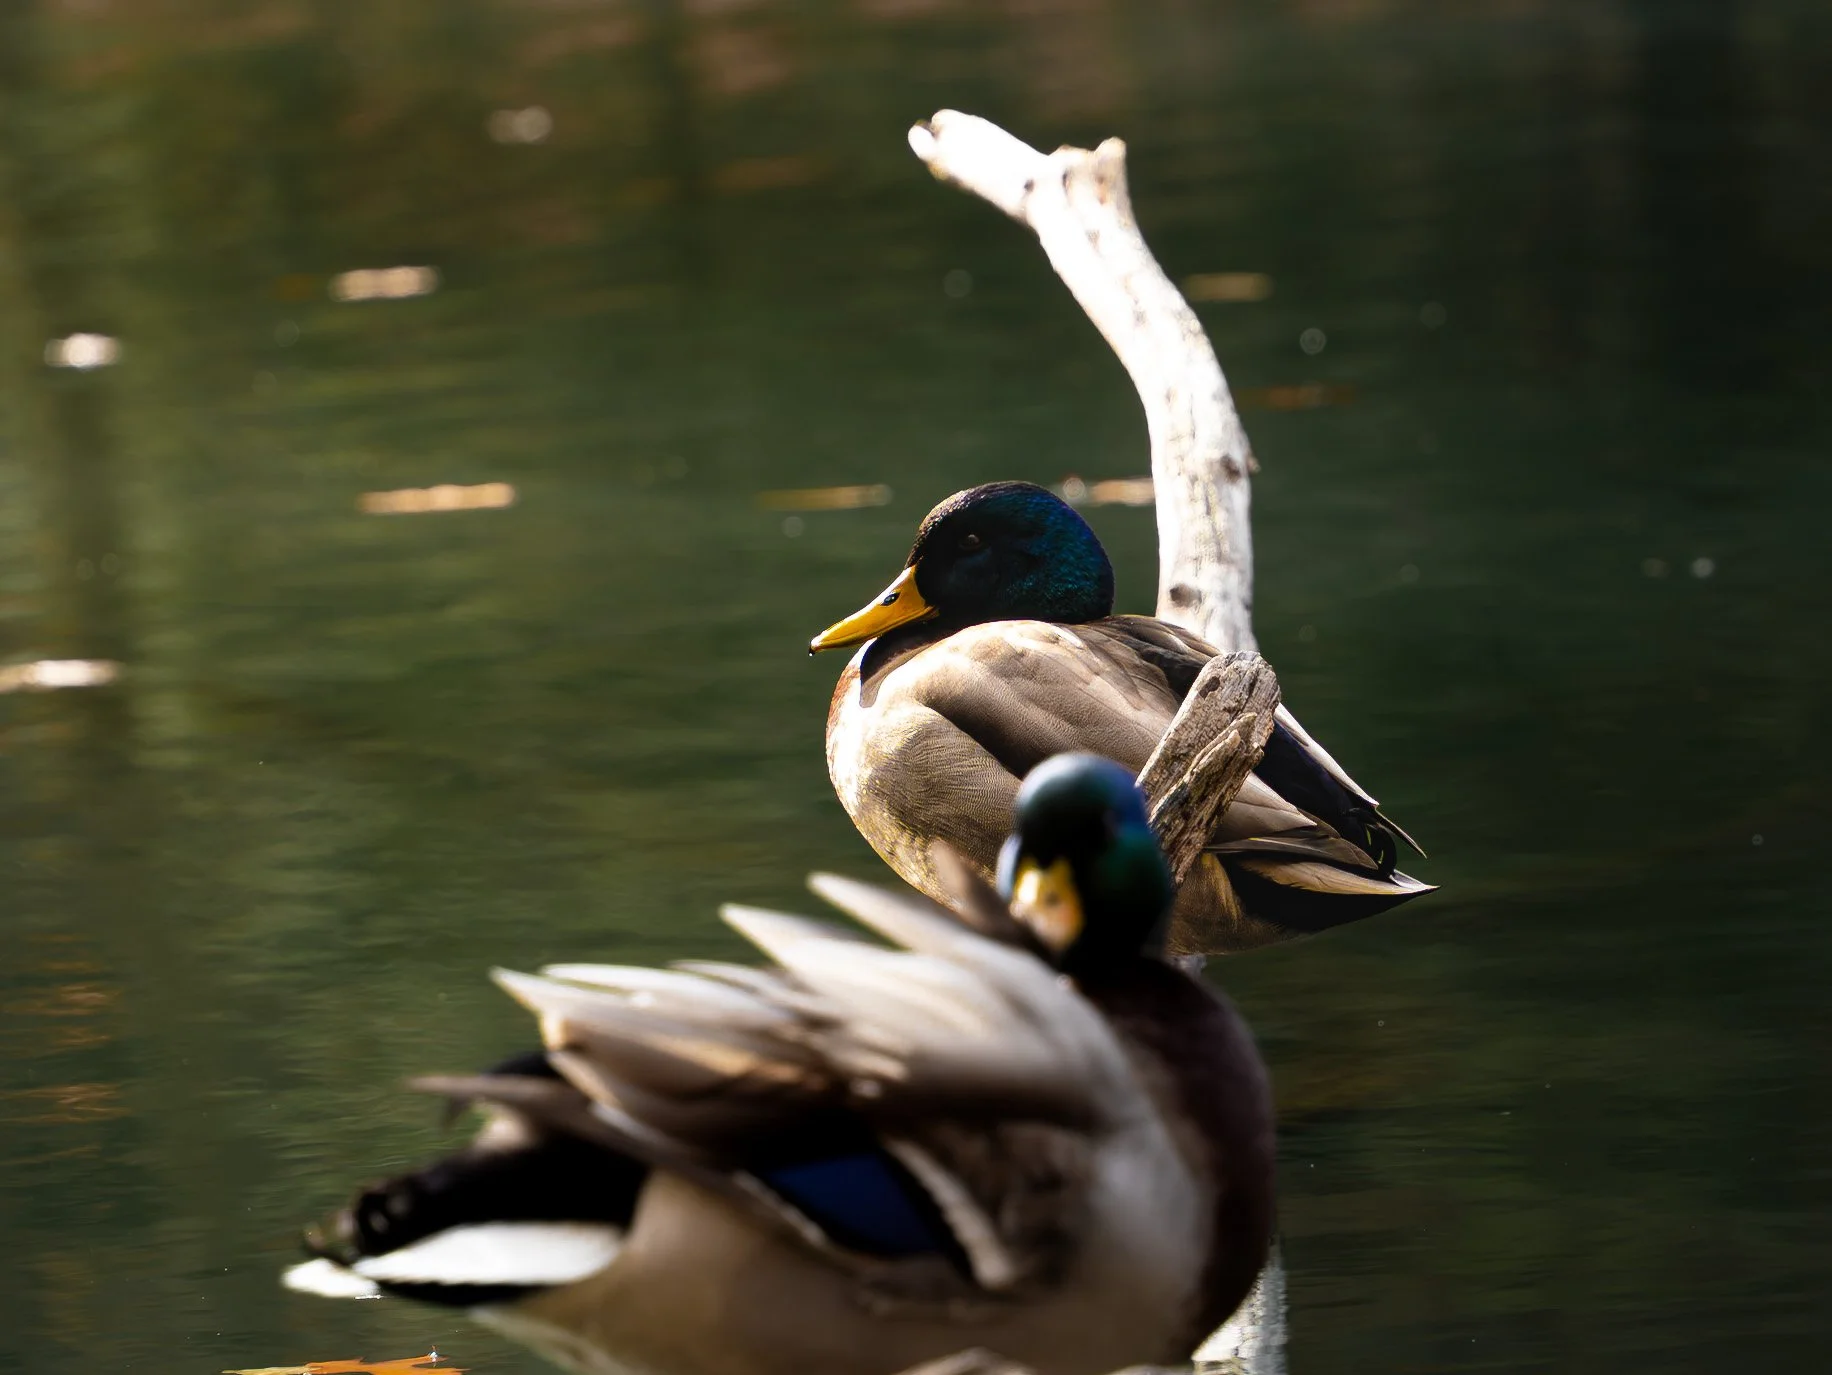
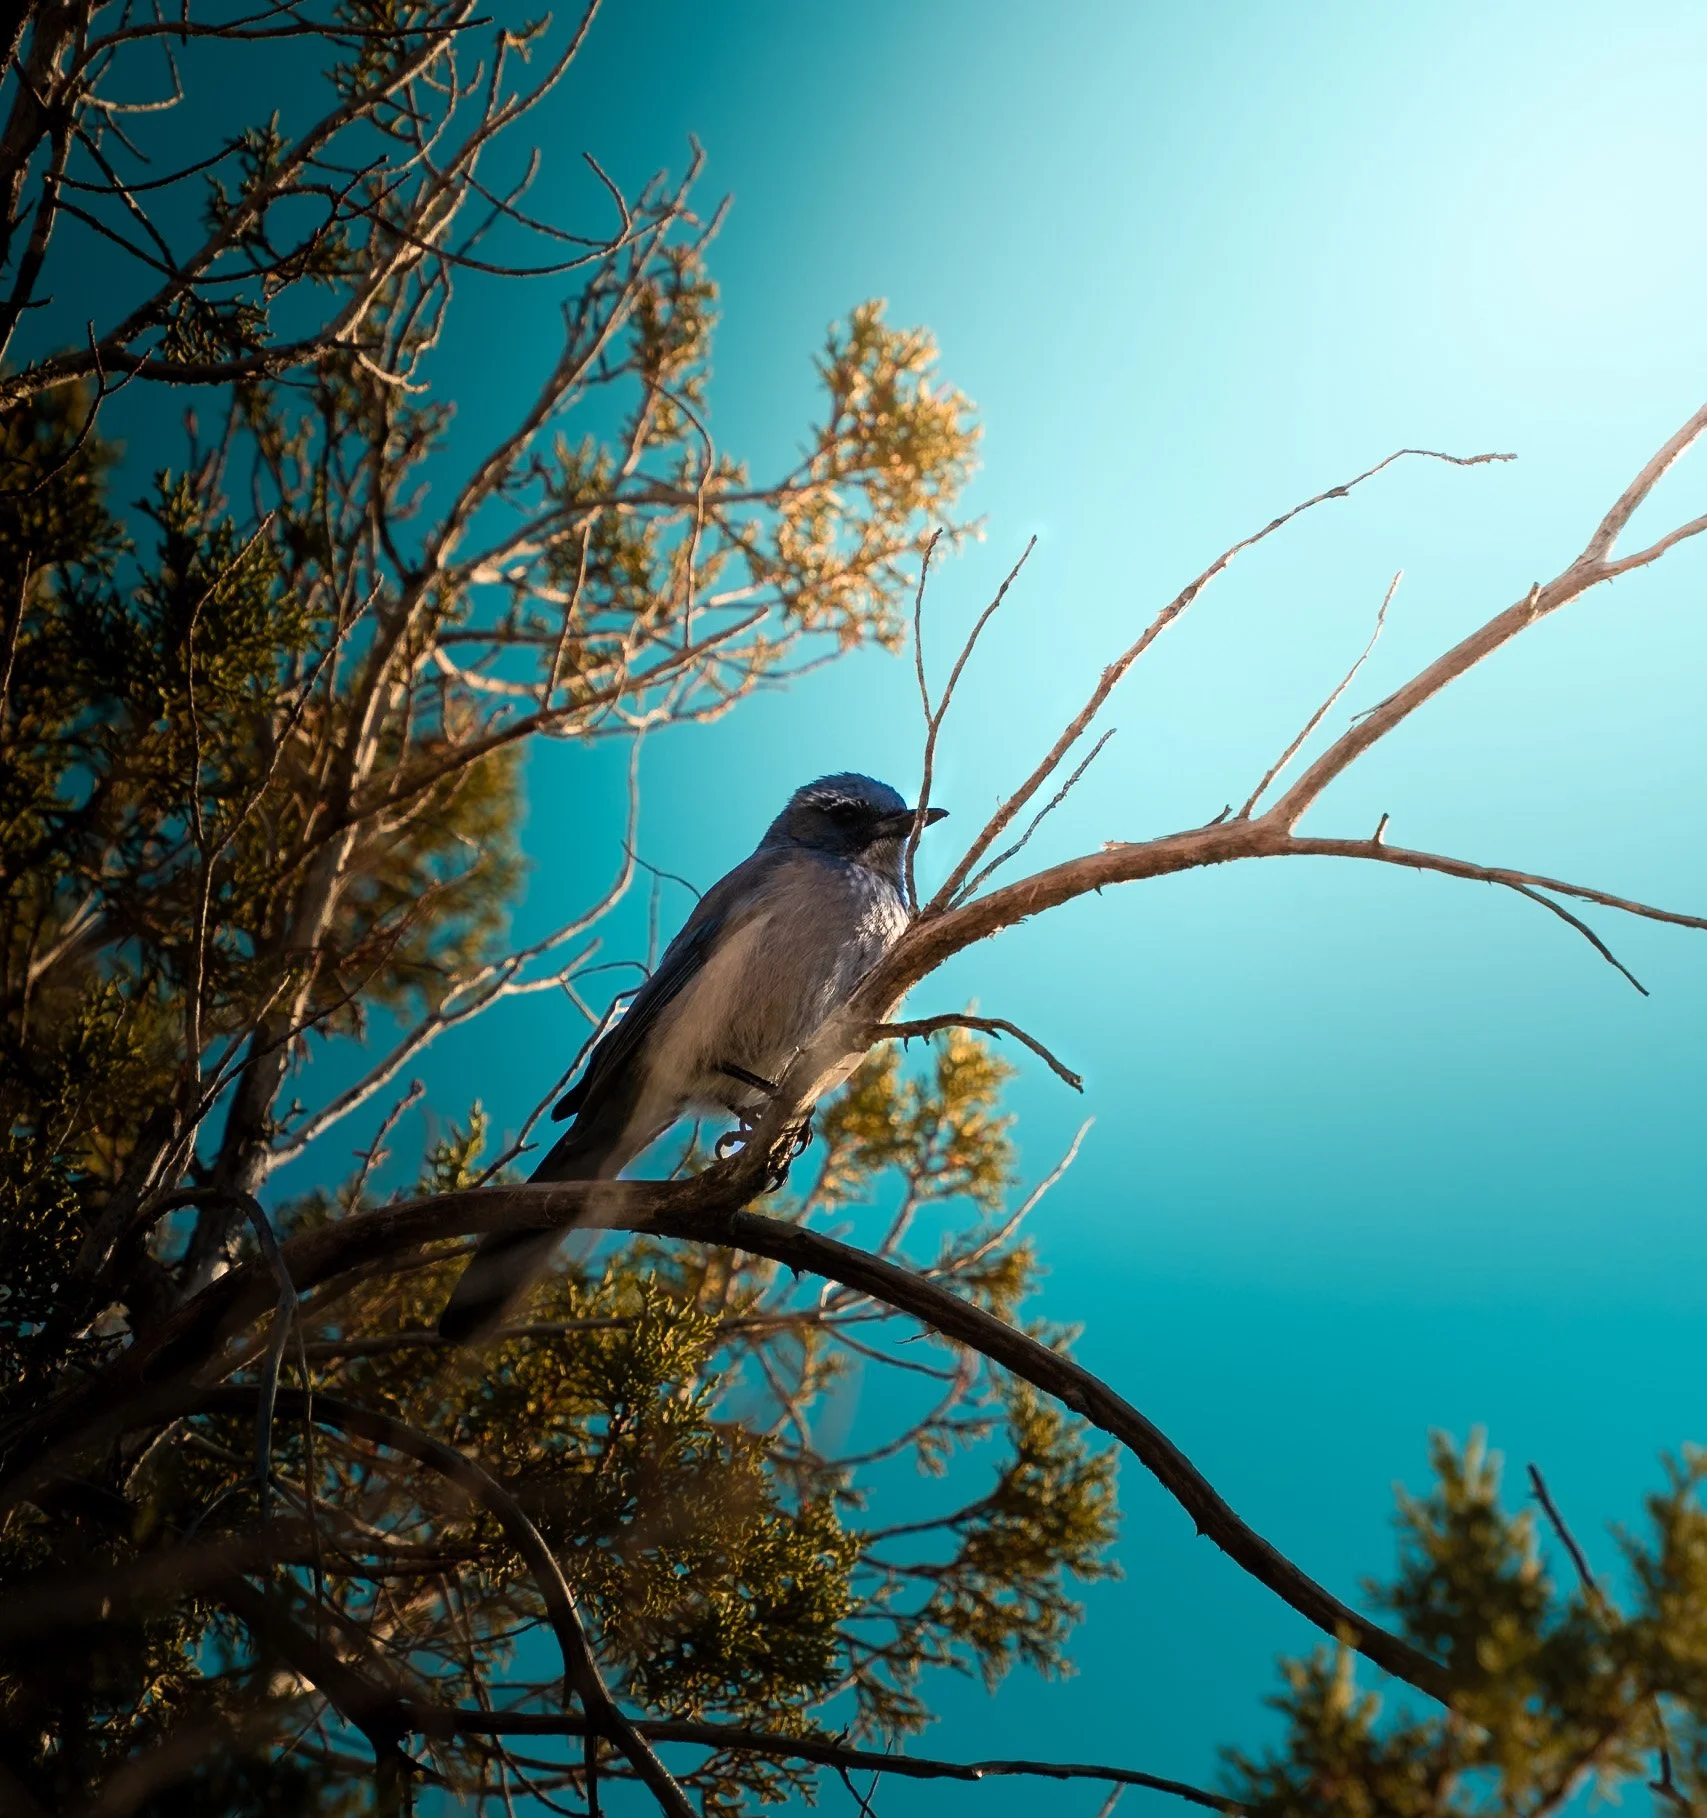
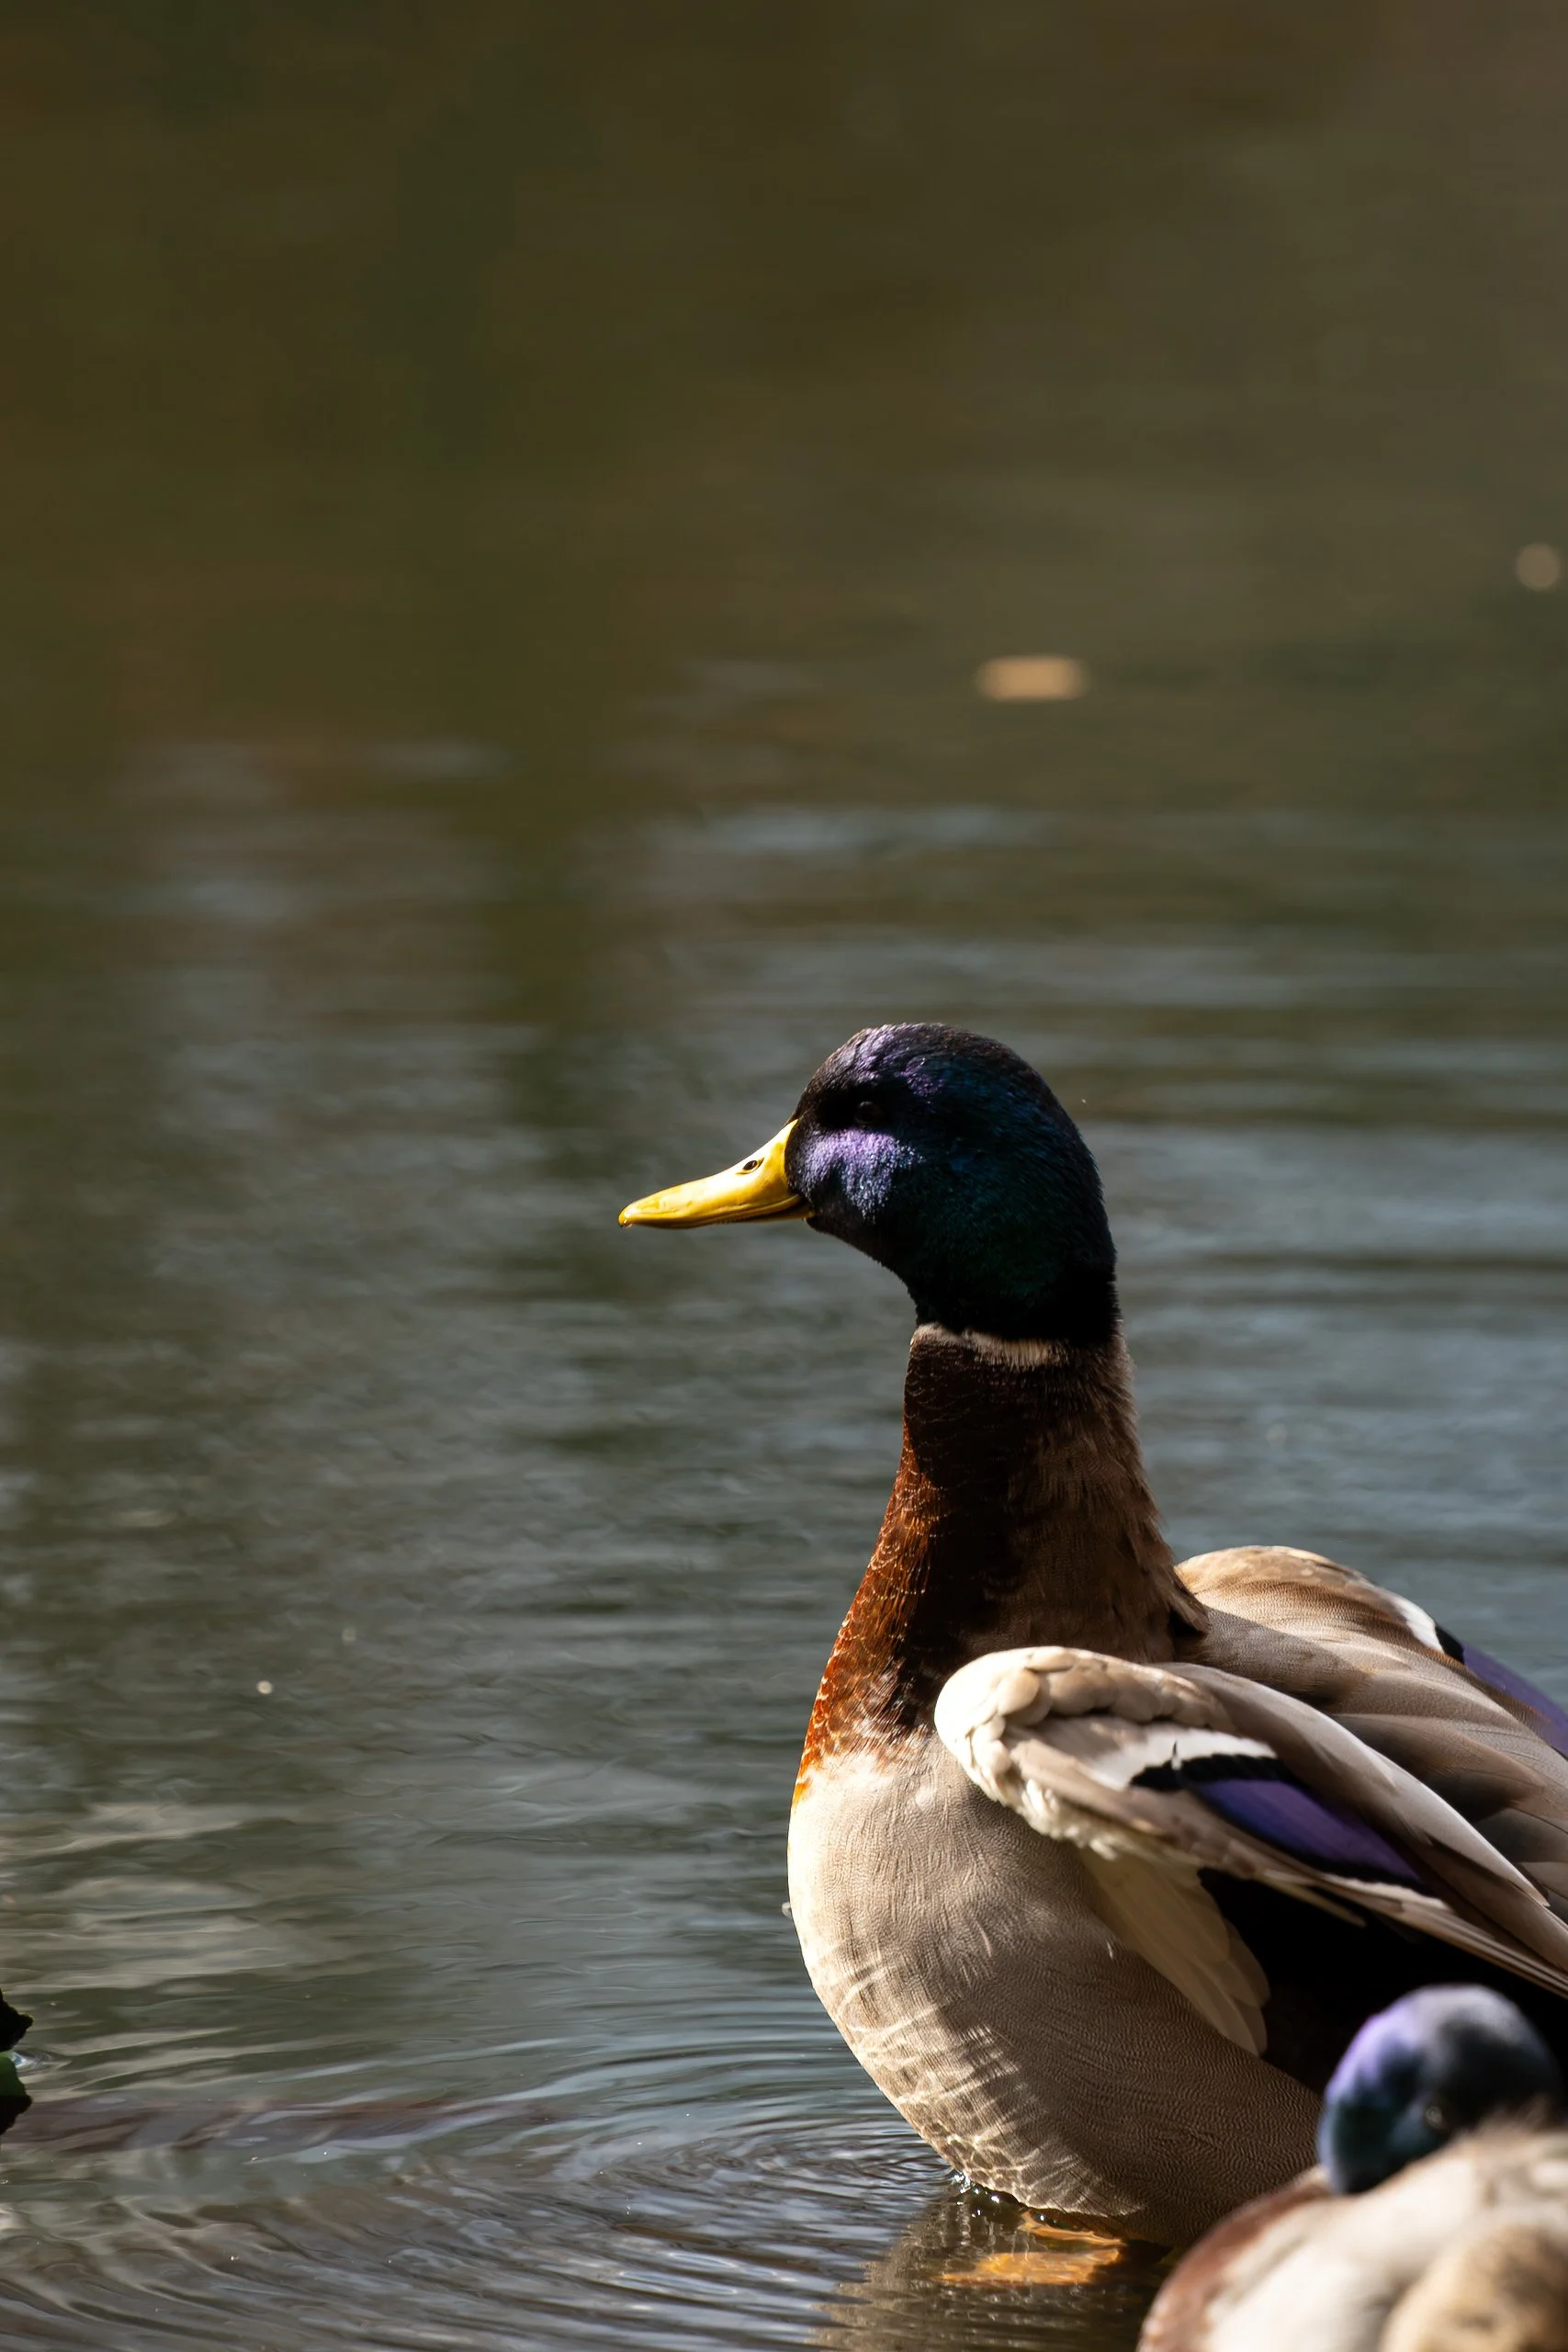
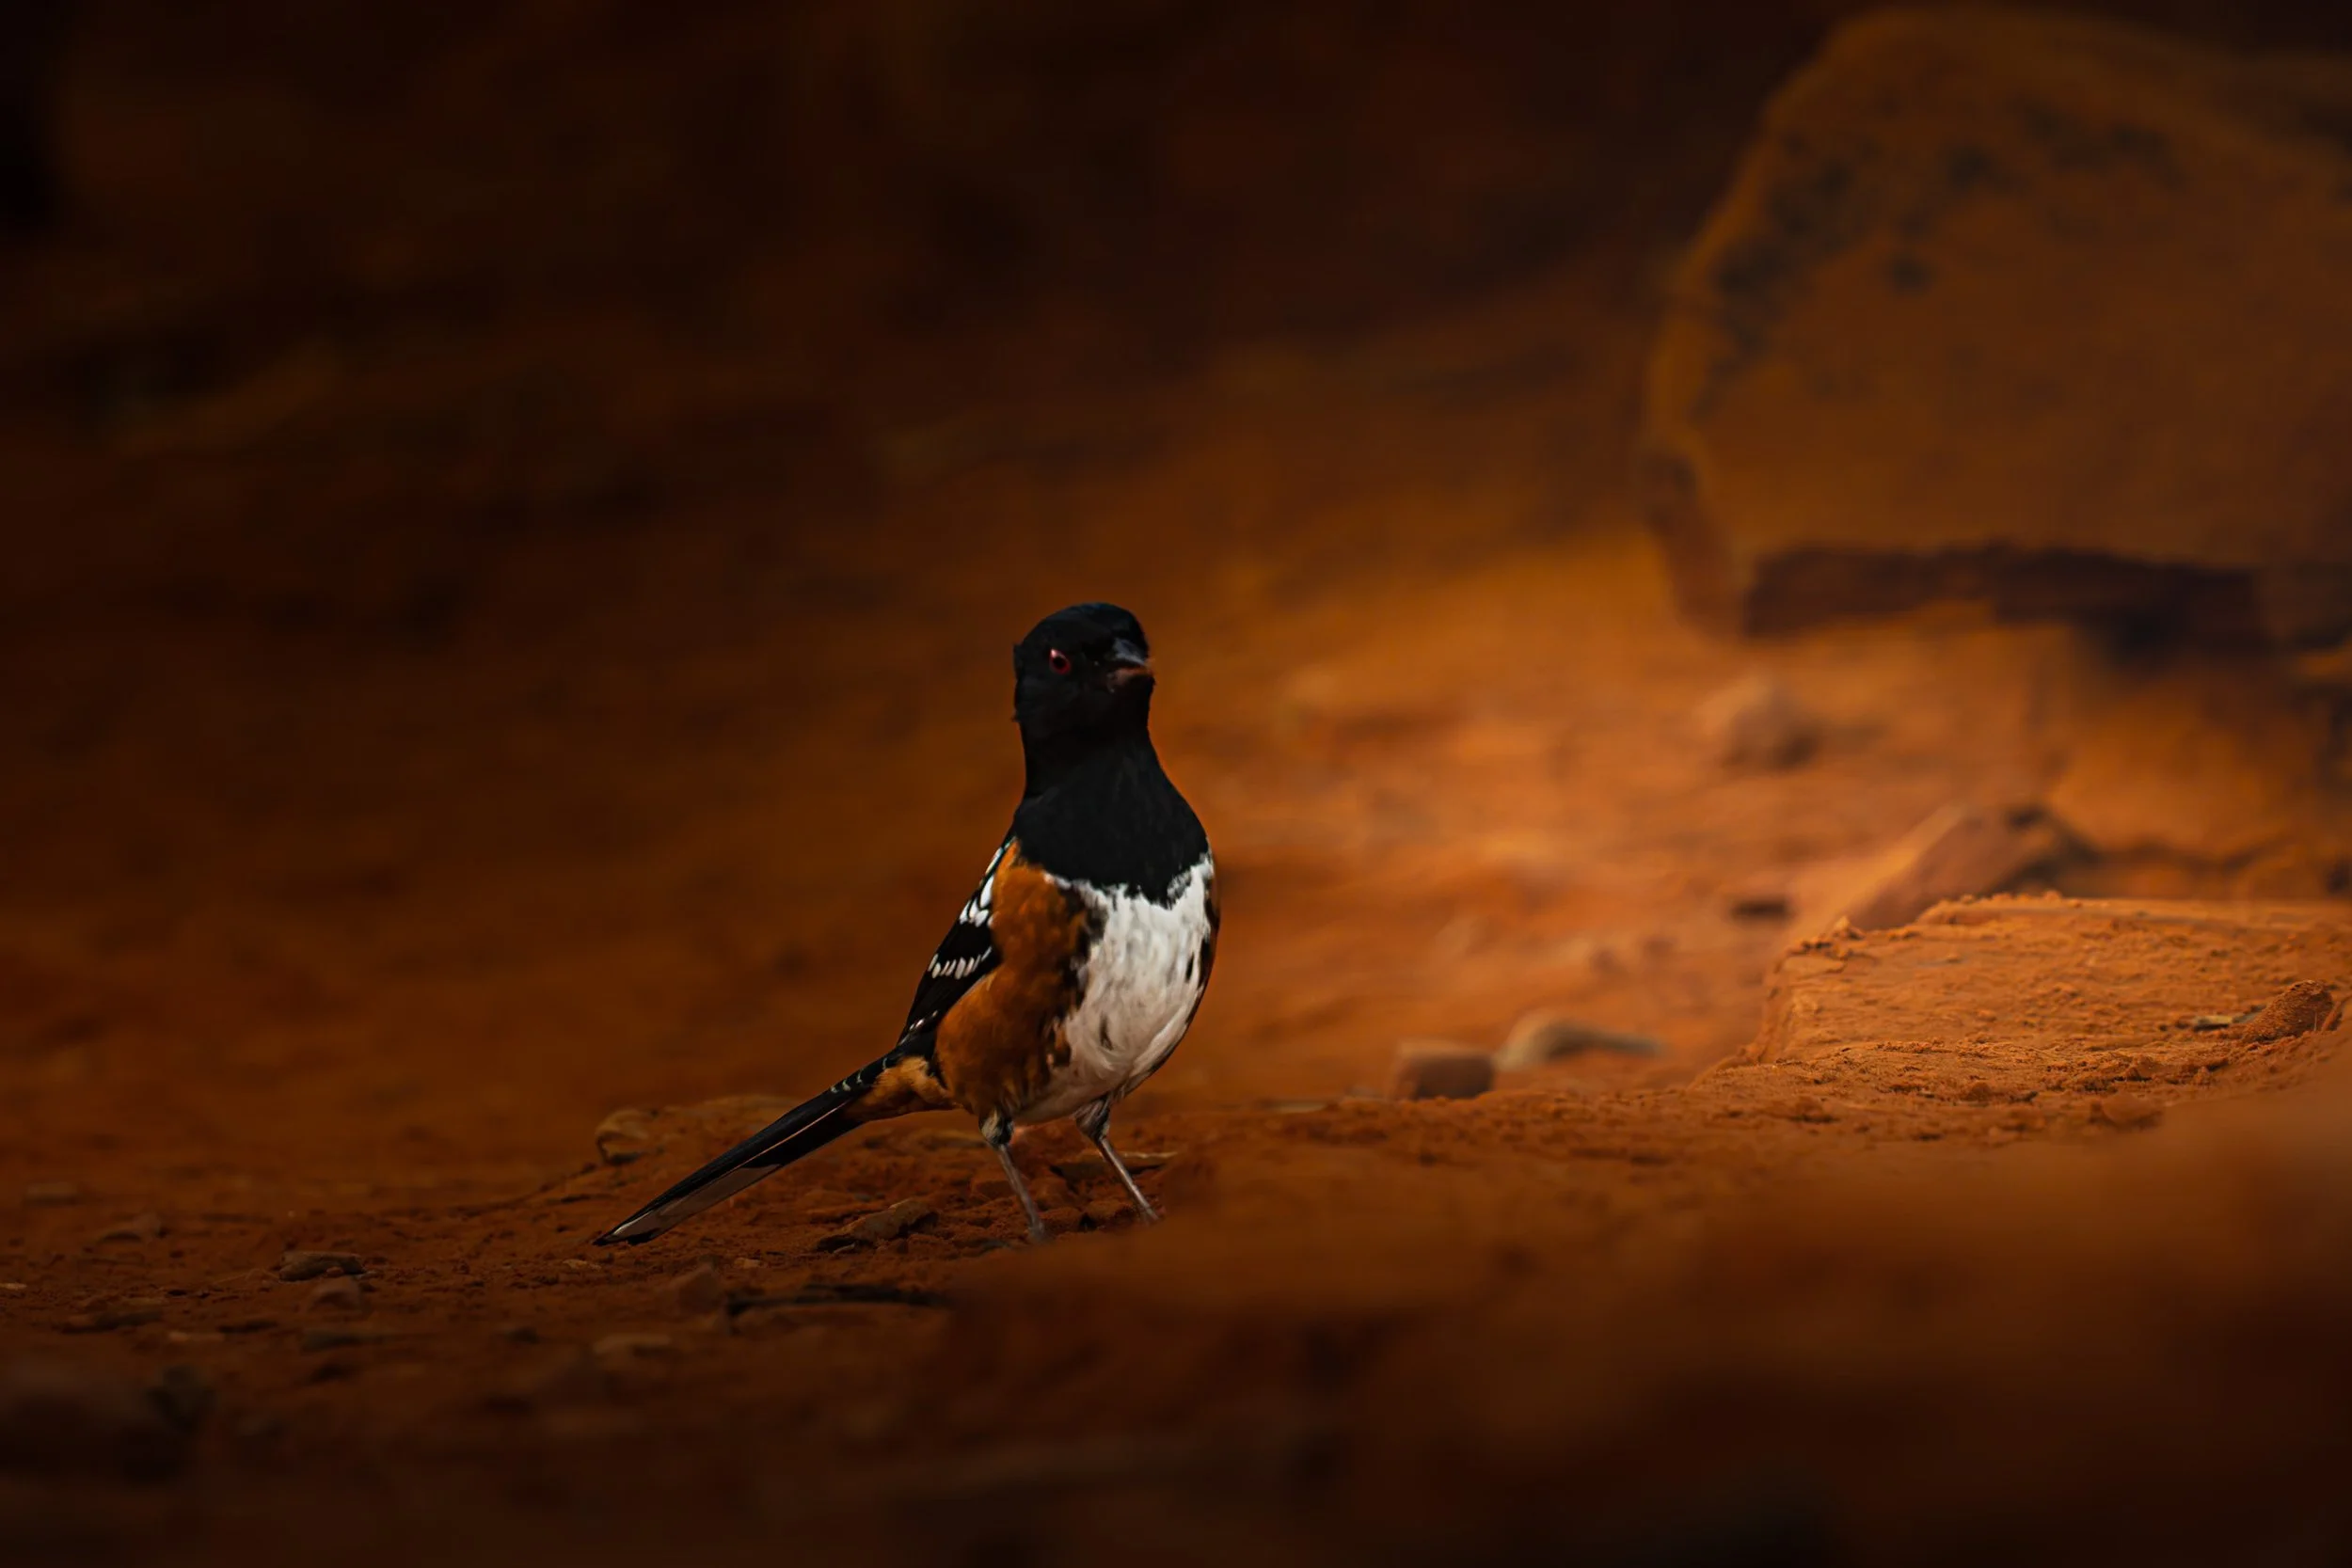
Here are just after few examples of some wildlife images I took home before I got a longer focal length lens!
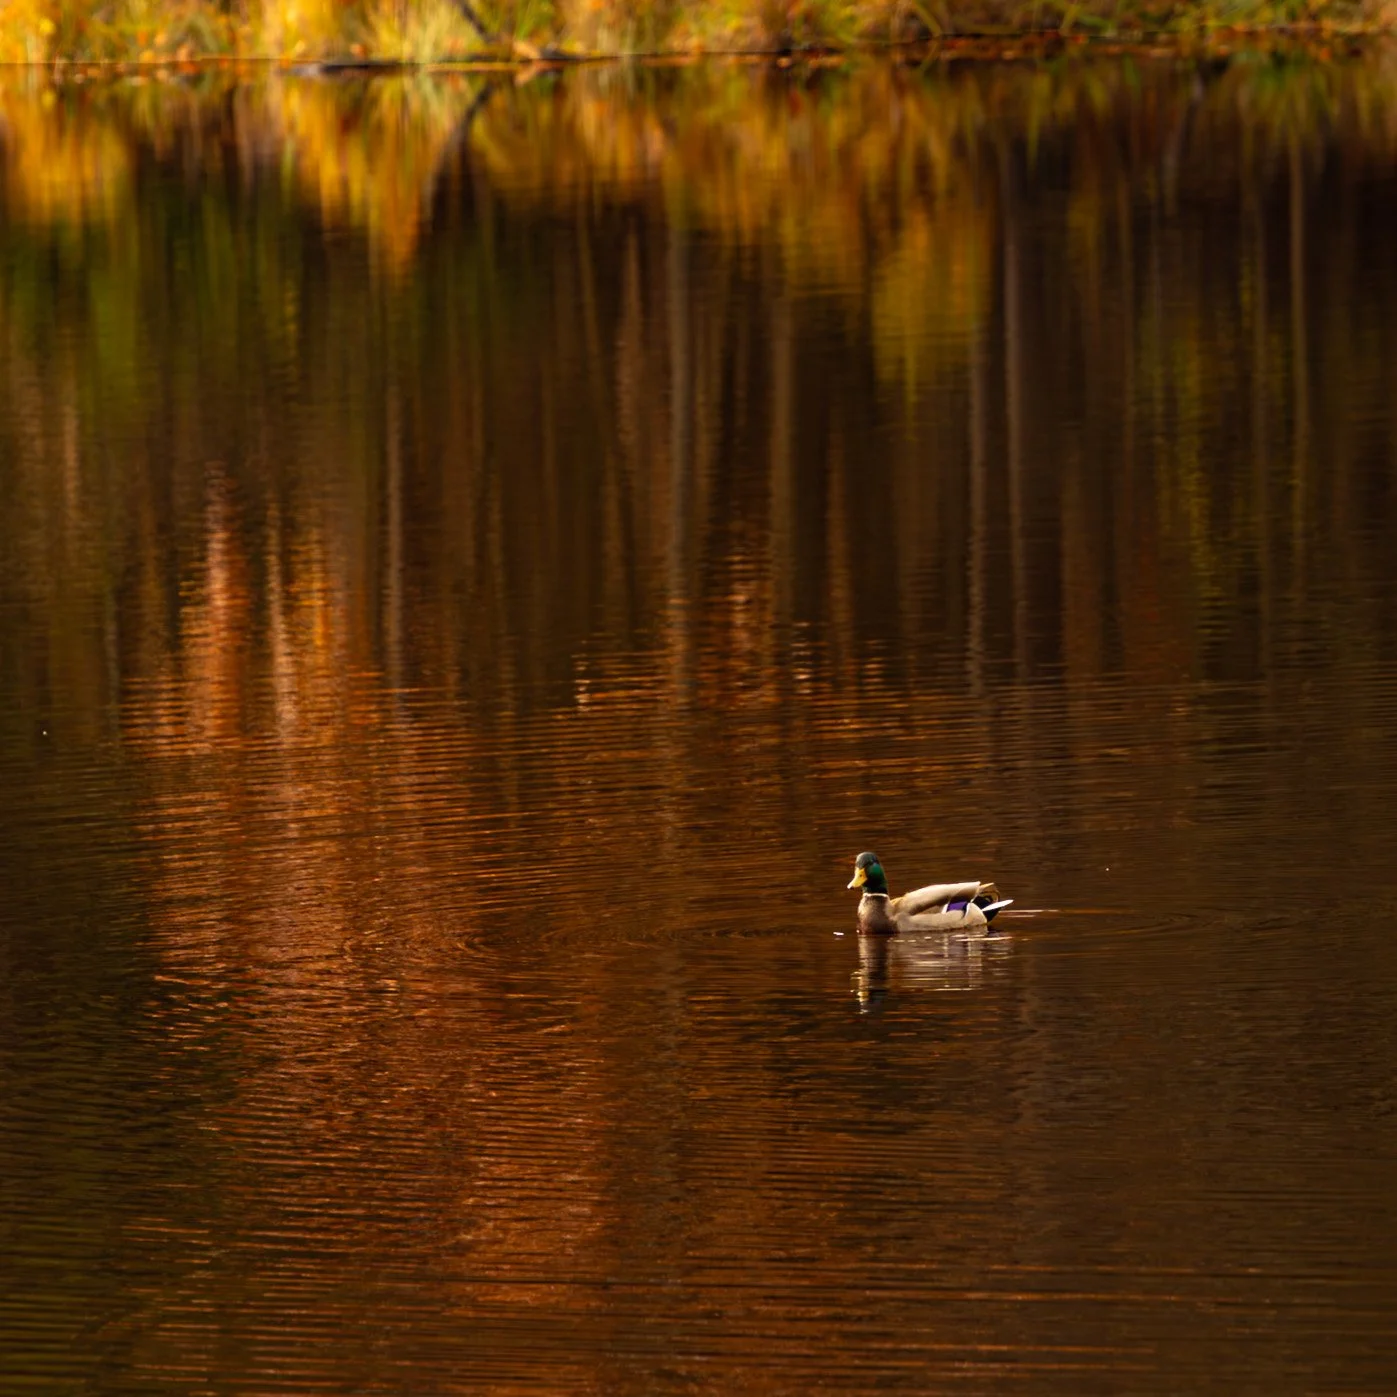
It is definitely possible! There are a couple different avenues to approach wildlife photography with the a shorter focal length lens-making the animal a part of the scene, like the duck in the autumn pond, or being patient and allowing your subject to get close enough for you to get a sharp image.
Additionally, most mirrorless cameras have the ability to crop the sensor down. On my Sony A7iii, this will give me an extra 1.4x magnification on any lens that I use. This definitely helps get in a little tighter on your subjects. This will make your image smaller, but if you have access to the Adobe suite, there are a few tools to increase the size of your image to make it print-worthy!
For newer photographers, remember that your camera settings for wildlife will vary greatly from your settings for landscapes.
In wildlife photography, you’ll want to focus on a high shutter speed. I like to sit somewhere between 1/1000 to 1/1600 for most wildlife. This may require you to bump up your ISO value, don’t be afraid-yes, you may introduce noise to your image, but Lightroom has some impressive noise reduction applications so you don’t have to worry!
Explore Where You Live
I’ve lived in Northeast Ohio for a large part of my life and I really thought I knew where I lived. It wasn’t until that I really picked up photography in full-force that I realized that there was so much other my home that I had no idea about!
With a little searching on the internet, AllTrails and just driving around, I found so many waterfalls, water mills and overlooks that made for incredible photographs. There are so many different applications that you can take advantage of to help find great photo locations. Even Google Maps and Google Earth have started adapting their satellites to capture street-views of trails that you can use to explore.
Searching for parks and other historical sites can offer a huge value, too.
Bottom line-don’t be afraid to explore your home state, or area. This world is so much bigger than we give it credit for and your local area isn’t any different!
Travel
I know that not everyone can travel at the drop of a hat-I can’t either, but traveling doesn’t have to mean jumping on an airplane and flying across two timezones. A lot of times I will jump in the car on weekend day and drive 2, 3, or 4 hours to hike about the local area, or visit a spot I have wanted to photograph.
Last month, I drove 4 hours to West Virginia to get the image you’ve seen above at a Babcock State Park. My wife and I walked around with the dogs for a few hours, then we jumped in the car headed for home. Last year, we did the same, but this time to the Finger Lakes region of New York. We stayed in a questionable hotel and spent most of the weekend taking in the fall foliage and capturing waterfalls!
Traveling doesn’t have to be expensive. In fact, for our day to West Virginia, we spent about $65 dollars on gas and probably $25 at McDonald’s (largely because I like to ‘sample’ their menu). That’s about the same cost of staying inside and having lunch and dinner delivered.
One tip I have to give is to keep a log of the places you’d like to visit. I have a tab on my Notes app where I list out all the places I see on social media that I want to photograph. Mine is broken down state by state, but yours doesn’t have to be that organized.
I think traveling for photography is extremely helpful. It gives you an opportunity to see something different from your day-to-day. You’ll also have a crash course in carefully crafting your image, because if you leave - you leave. You’ll want to make sure you get that image exactly as you like it! Plus, traveling is just good for the soul in general.
If there is one thing that the Midwest has taught me about photography-it’s that it isn’t about where you are, but its about how you see it.
You don’t need dramatic mountains, or endless coastline to create beautiful images. You do need patience. You need intention. And you need to learn to work with the conditions you’ve been dealt.
The light won’t always be perfect; the scene won’t always stand out right away, but if you are willing to slow down, return or look a little deeper, you’ll start to find images you didn’t know were there.
Who knows, maybe in the process, you’ll find yourself a little more appreciative of the place you’re standing in!
If you’d like to see more of work, feel free to head over to my gallery! Woods | Water | Desert | Wildlife | Structures